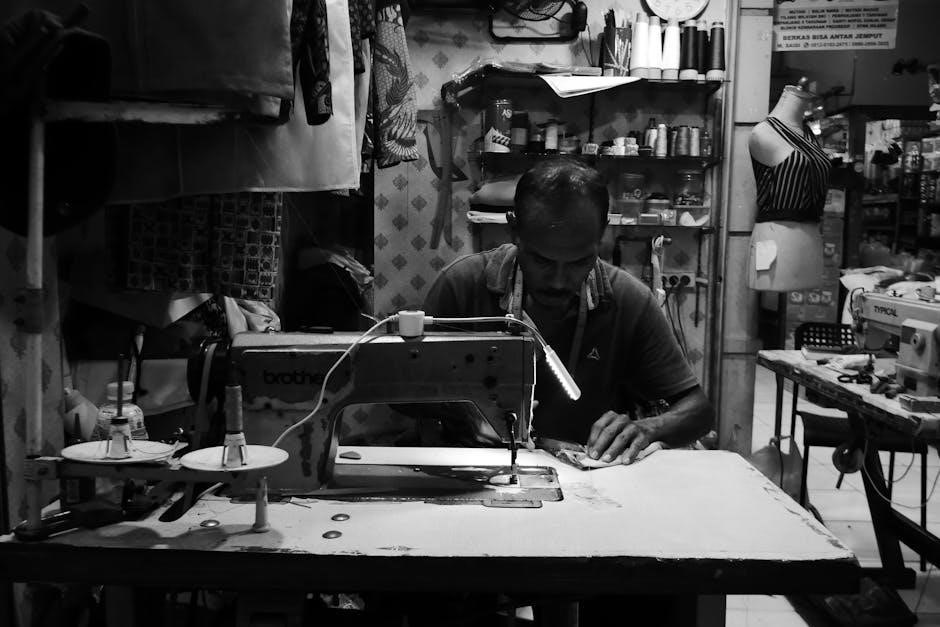
Brother XM2701 Manual: A Comprehensive Guide
This guide provides detailed instructions for the Brother XM2701 sewing machine‚ covering everything from initial setup to advanced techniques․
It references the full 53-page manual‚
and accessories like bobbins are included․
The Brother XM2701 is a popular‚ lightweight sewing machine designed for both beginners and experienced users․ It’s celebrated for its versatility and ease of use‚ making it an excellent choice for a wide range of everyday sewing projects․ This machine boasts 27 built-in stitches‚ offering options for various fabrics and techniques․
Understanding your XM2701 begins with accessing reliable information․ A full 53-page instruction manual is readily available‚ providing comprehensive guidance on all aspects of operation and maintenance․ Whether you’re tackling simple repairs or crafting intricate designs‚ the manual is your primary resource․
The XM2701 also features a convenient free arm‚ ideal for sewing cuffs‚ sleeves‚ and other cylindrical shapes․ Furthermore‚ the machine comes with 6 included sewing feet‚ expanding its capabilities․ Support is available through Brother’s “At your side” assistance‚ ensuring a smooth sewing experience․ This introduction sets the stage for a detailed exploration of the XM2701’s features and functions․
Key Features and Specifications
The Brother XM2701 distinguishes itself through a blend of practicality and functionality․ A core feature is its selection of 27 unique stitches‚ catering to diverse sewing needs – from basic straight stitches to decorative zigzag patterns․ Its lightweight design enhances portability‚ making it suitable for various workspaces․
Included with the machine are 6 sewing feet‚ expanding its versatility for specialized tasks․ The free arm configuration simplifies projects involving cuffs‚ collars‚ and similar cylindrical shapes․ The machine is designed to accommodate a variety of fabrics‚ offering adaptability for different projects․
Specifications include a user-friendly interface and straightforward threading mechanisms‚ detailed within the 53-page manual․ Accessories such as bobbins are included to get you started immediately․ The XM2701 is built for both beginners and seasoned sewists‚ offering a balance of simplicity and capability․

Understanding the Machine Components
Explore the XM2701’s design‚ including front and back views‚ the stitch control panel‚ and essential parts like the bobbin winder․
Refer to the manual for clarity․
Machine Overview: Front and Back Views
Familiarizing yourself with the Brother XM2701’s physical layout is the first step to successful sewing․ The front view showcases the needle‚ presser foot‚ and stitch selection dial – key components for operation․ Observe the free arm‚ a versatile feature ideal for cuffs‚ sleeves‚ and other cylindrical projects․
Turning to the back‚ you’ll find the handwheel for manual control‚ the bobbin winder mechanism‚ and access points for threading․ Understanding the location of these elements‚ as detailed in the 53-page manual‚ streamlines the setup process․ Note the power switch and the cord wrap for tidy storage․
Pay attention to the overall construction; the XM2701 is designed to be lightweight and user-friendly․ The machine’s compact size doesn’t compromise functionality‚ offering a robust sewing experience for both beginners and experienced users․ A clear understanding of these views will enhance your confidence and efficiency․
Identifying the Stitch Control Panel
The stitch control panel on the Brother XM2701 is central to selecting your desired sewing pattern․ This panel‚ thoroughly explained in the 53-page manual‚ features a stitch selection dial allowing you to choose from 27 built-in stitches․ These range from basic straight and zigzag stitches to decorative options․
Key controls include the stitch length and width dials‚ enabling precise adjustments for various fabrics and techniques․ Understanding these dials is crucial for achieving professional-looking results․ The reverse stitch lever provides added control for securing seams․
Familiarize yourself with the stitch number chart‚ often printed directly on the machine‚ to quickly locate specific stitches․ The panel’s intuitive design ensures ease of use‚ even for beginners․ Mastering the stitch control panel unlocks the full potential of the XM2701‚ allowing for versatile and creative sewing projects․
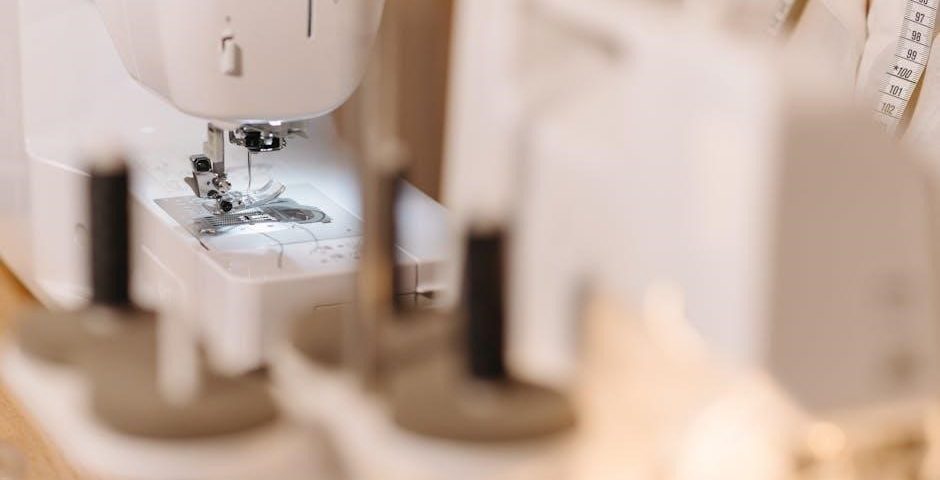
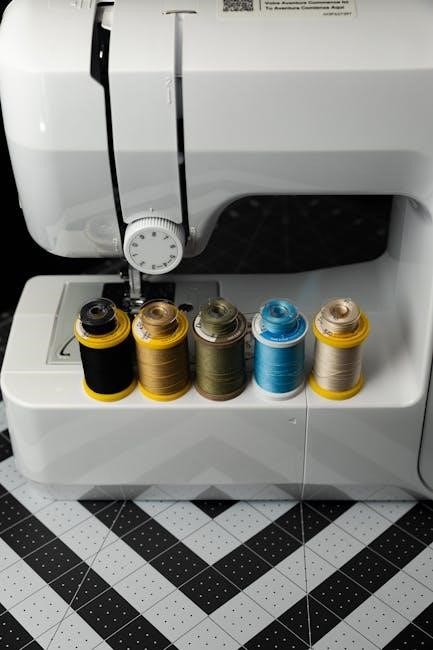
Bobbin Winding and Threading
Proper bobbin winding and threading are fundamental to successful sewing with the Brother XM2701․ The 53-page manual provides detailed‚ step-by-step instructions for both processes․ Begin by placing the thread spool on the spool pin and guiding it through the thread guides․
Winding the bobbin involves engaging the bobbin winding shaft and following the designated path to ensure even distribution․ Once wound‚ the bobbin is inserted into the bobbin case‚ ensuring it clicks securely into place․
Threading the upper thread requires carefully following the numbered guides on the machine‚ leading to the needle clamp․ Correct threading is vital to prevent skipped stitches and ensure smooth operation․ Included bobbins are designed for optimal performance․ Refer to the manual’s diagrams for visual guidance‚ especially if you’re a beginner․
Setting Up the XM2701 for Sewing
Prepare for sewing by correctly threading the upper thread and inserting a wound bobbin․ The manual details these steps‚ ensuring optimal machine performance for all projects․
Threading the Upper Thread
Proper upper threading is crucial for consistent stitch formation on your Brother XM2701․ Begin by ensuring the machine is turned off and the presser foot is raised․ Place the spool of thread onto the spool pin‚ securing it with the spool cap․
Next‚ guide the thread through the first thread guide‚ then down and around the tension disc – the manual provides a clear diagram of this path․ Continue threading through the take-up lever‚ ensuring it’s in its highest position․
After the take-up lever‚ thread through the remaining thread guides‚ and finally‚ thread the needle from front to back․ A needle threader can be helpful for easier insertion․ Double-check that the thread is securely seated in the needle clamp․ Incorrect threading can lead to skipped stitches or tension issues‚ so refer to the 53-page manual for detailed illustrations and troubleshooting tips․
Inserting the Bobbin
Correct bobbin insertion is vital for smooth sewing with the Brother XM2701․ First‚ locate the bobbin case on the underside of the machine․ Open the bobbin cover․ Wind a bobbin with thread‚ following the manual’s instructions for proper winding – ensuring it’s not overfilled․
Hold the bobbin with the thread unwinding in a counter-clockwise direction․ Insert the bobbin into the bobbin case‚ guiding the thread through the tension spring․ Pull a few inches of thread through the slot in the bobbin case․
Carefully re-insert the bobbin case into the machine‚ ensuring it clicks into place․ Gently pull the upper thread; this should bring the bobbin thread up through the needle plate․ The 53-page manual offers detailed diagrams to assist with this process․ Improper insertion can cause nesting or tension problems․
Selecting Stitches
The Brother XM2701 boasts 27 unique stitches‚ offering versatility for various sewing projects․ To select a stitch‚ locate the stitch selection dial on the machine’s front panel․ Refer to the manual for a comprehensive stitch guide‚ detailing each stitch’s purpose and recommended settings․
Turn the dial to the desired stitch number․ The selected stitch will be displayed visually near the dial․ Adjust stitch length and width using the corresponding dials‚ fine-tuning the stitch to suit your fabric and project needs․ Experiment with different settings on scrap fabric before starting your actual project․
The 53-page manual provides detailed illustrations of each stitch and its applications․ Remember that certain stitches require specific presser feet (included with the machine) for optimal results․ Understanding stitch selection is key to unlocking the XM2701’s full potential․
Basic Sewing Operations
Mastering fundamental techniques like straight and zigzag stitching is crucial․ The manual guides users through stitch length/width adjustments for diverse projects‚
ensuring optimal results․
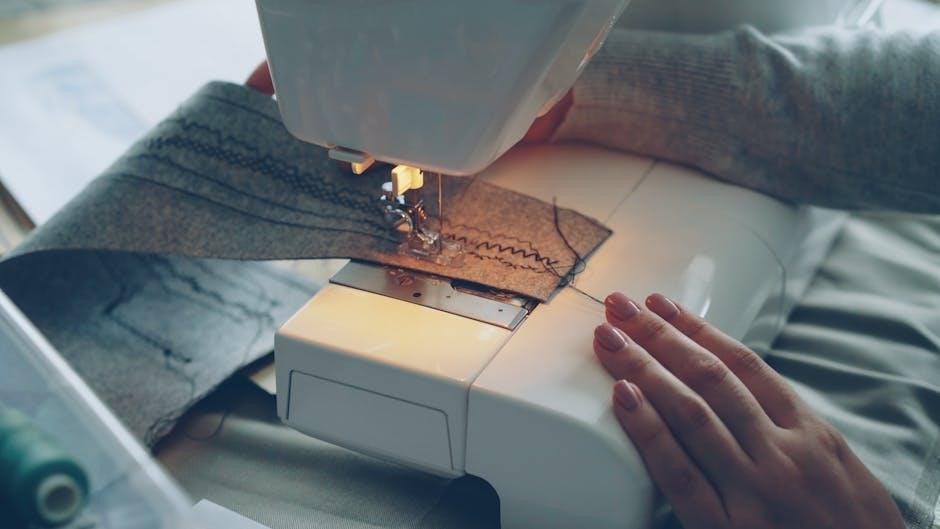
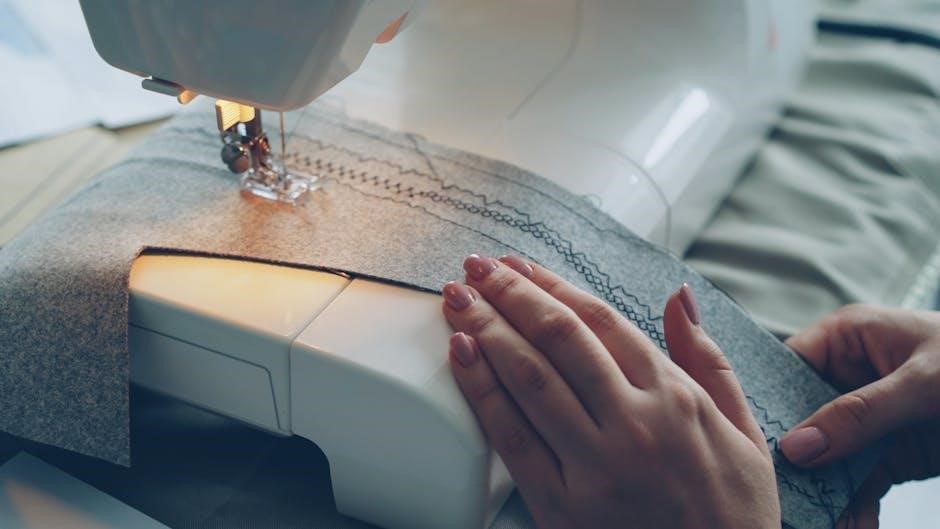
Straight Stitching Techniques
Achieving a perfect straight stitch is foundational to successful sewing‚ and the Brother XM2701 manual provides clear guidance․ Begin by selecting the appropriate straight stitch setting on the stitch control panel – typically stitch number 1․ Ensure the fabric is placed correctly under the presser foot‚ aligning the desired sewing line with the guide markings on the needle plate․
Consistent fabric feeding is key; gently guide the fabric‚ avoiding pulling or pushing․ Maintain a steady‚ moderate sewing speed․ The manual emphasizes the importance of proper thread tension for a balanced stitch․ Experiment with different stitch lengths based on fabric weight and project requirements․ Shorter stitch lengths are ideal for delicate fabrics‚ while longer lengths suit heavier materials․
For beginners‚ practicing on scrap fabric is highly recommended․ Pay attention to the stitch formation – a well-formed straight stitch should appear uniform on both sides of the fabric․ The XM2701’s versatility allows for straight stitching on a wide range of materials‚ making it suitable for everyday sewing projects․ Refer to the manual’s diagrams for visual assistance and troubleshooting tips․
Zigzag Stitching Applications
The Brother XM2701’s zigzag stitch offers versatility beyond basic seams․ This stitch‚ selectable via the machine’s control panel‚ is ideal for finishing raw edges to prevent fraying‚ creating decorative embellishments‚ and sewing stretch fabrics․ The manual details adjusting stitch width and length to achieve desired effects․
For edge finishing‚ a narrow zigzag stitch effectively encases the fabric edge․ When working with knits or spandex‚ a wider zigzag allows for necessary stretch without breaking the seam․ Decorative applications include creating unique patterns and attaching trims․ The XM2701’s range of stitch widths enables diverse design possibilities․
The manual recommends practicing on scrap fabric to determine optimal settings for different materials․ Proper thread tension is crucial for a balanced zigzag stitch․ Experiment with varying stitch lengths to control the density of the zigzag pattern․ Mastering the zigzag stitch expands the XM2701’s capabilities‚ enabling a wider array of sewing projects․
Adjusting Stitch Length and Width
The Brother XM2701 allows precise control over stitch length and width‚ crucial for adapting to various fabrics and project requirements․ These adjustments are made using the stitch control panel‚ detailed in the 53-page manual․ Stitch length determines the distance between stitches‚ impacting seam strength and appearance․
Shorter stitch lengths are ideal for delicate fabrics or areas requiring increased durability‚ like reinforcing stress points․ Longer stitch lengths are suitable for basting or gathering fabric․ Stitch width‚ primarily affecting zigzag stitches‚ controls the breadth of the stitch․ A narrower width creates a denser stitch‚ while a wider width offers more stretch․
The manual emphasizes testing adjustments on scrap fabric before sewing the final project․ Incorrect settings can lead to puckering‚ skipped stitches‚ or broken thread․ Understanding the interplay between fabric type‚ thread weight‚ and stitch parameters is key to achieving professional results with the XM2701․
Advanced Features and Techniques
Explore the XM2701’s capabilities with the free arm‚ buttonhole guide‚ and zipper insertion instructions found within the 53-page manual․
These features enhance project versatility․
Using the Free Arm
The Brother XM2701 boasts a versatile free arm‚ a particularly useful feature for a wide range of everyday sewing projects․ This design element transforms a portion of the machine into a cylindrical workspace‚ ideal for maneuvering smaller items and achieving precise stitching in tight areas․
Utilizing the free arm is especially beneficial when working on cuffs‚ sleeves‚ collars‚ pant legs‚ and other similar garment components․ Removing the extension table reveals the free arm‚ providing ample space to rotate the fabric without obstruction․ This allows for greater control and accuracy during sewing‚ resulting in professional-looking finishes․
Refer to the full 53-page manual for detailed diagrams and step-by-step instructions on how to properly detach and reattach the extension table․ The manual also provides guidance on optimal fabric positioning and stitch selection when employing the free arm technique․ Mastering this feature unlocks a new level of creativity and precision in your sewing endeavors with the XM2701․
Buttonhole Sewing Guide
The Brother XM2701 simplifies buttonhole creation with its dedicated buttonhole foot and pre-programmed stitch settings․ While specific details are found within the full 53-page manual‚ the process generally involves selecting the appropriate buttonhole stitch on the stitch control panel and attaching the buttonhole foot․
Accurate button placement is crucial․ The manual will guide you through measuring the button size and transferring those measurements to the fabric․ The XM2701 then automatically sews a perfectly sized buttonhole‚ often with a four-step process: tacking‚ creating the opening‚ reinforcing the sides‚ and finishing with a tack․
Practice on scrap fabric is highly recommended to familiarize yourself with the machine’s settings and ensure consistent results․ The manual provides troubleshooting tips for common issues‚ such as uneven buttonholes or thread breakage․ With a little practice‚ you’ll be creating professional-quality buttonholes effortlessly․
Zipper Insertion Instructions
Inserting zippers with the Brother XM2701 is made easier with the appropriate zipper foot‚ included among the 6 included sewing feet․ The 53-page manual provides detailed‚ step-by-step instructions for various zipper application techniques‚ including centered‚ overlapped‚ and invisible zippers․
Generally‚ the process begins by pinning the zipper tape to the fabric‚ right sides together․ Selecting the correct zipper stitch – often a zigzag stitch – is vital for secure attachment․ The zipper foot allows you to sew close to the zipper teeth without interference․
The manual emphasizes the importance of maintaining consistent seam allowance and guiding the fabric smoothly under the presser foot․ It also covers techniques for neatly finishing the zipper ends and preventing puckering․ Practice on scrap fabric is recommended before tackling a garment project․ Careful attention to the manual’s illustrations will ensure a professional finish․

Maintenance and Troubleshooting
Regular cleaning‚ as detailed in the 53-page manual‚ ensures optimal performance․ Common issues and solutions are outlined‚ helping users maintain their Brother XM2701 easily․
Cleaning the XM2701

Consistent cleaning is crucial for maintaining the longevity and performance of your Brother XM2701 sewing machine․ Dust and lint buildup can significantly impact stitch quality and even cause mechanical failures․ The full 53-page manual provides detailed instructions‚ but here’s a general overview․
Always power off and unplug the machine before beginning any cleaning procedure․ Use a soft brush – often included with the machine – to remove lint from the bobbin area‚ feed dogs‚ and around the needle plate․ A small vacuum cleaner with a brush attachment can also be helpful for removing stubborn debris․
For more thorough cleaning‚ a lint brush or a piece of fabric dipped in sewing machine oil can be used to gently clean the internal mechanisms․ Avoid using compressed air‚ as it can push dust further into the machine․ Wipe down the exterior surfaces with a damp cloth․ Never use harsh chemicals or abrasive cleaners‚ as these can damage the finish․ Regular oiling‚ as described in the manual‚ is also essential for smooth operation․
Remember to clean after every sewing project‚ or at least every few hours of use‚ to prevent significant buildup․
Troubleshooting Common Issues
Even with proper care‚ you may encounter occasional issues with your Brother XM2701․ The 53-page manual is your primary resource for resolving these problems․ A common issue is thread bunching‚ often caused by improper threading or incorrect bobbin insertion – re-thread both upper and lower threads carefully․
Skipped stitches can indicate a dull or incorrect needle; replace it with the correct type and size for your fabric․ If the machine is noisy‚ ensure it’s properly oiled and that there’s no lint buildup․ Jammed thread frequently stems from tension imbalances; adjust the tension dials according to the manual’s guidance․
If the machine stops responding‚ check the power cord and ensure it’s securely plugged in․ For more complex problems‚ consult the troubleshooting section of the manual or Brother’s online support resources․ Remember to always unplug the machine before attempting any repairs․
Don’t attempt repairs beyond your skill level; professional servicing may be required․
Finding the Full 53-Page Manual
Accessing the complete 53-page manual for your Brother XM2701 is crucial for maximizing its capabilities and resolving any issues․ While a physical copy can be purchased – often with clear protective covers available on platforms like eBay to prevent damage – digital versions are readily accessible․
Brother’s official website is the primary source for downloadable manuals․ Navigate to the support section and search for “XM2701” to locate the PDF version․ Several third-party websites also host the manual‚ but ensure the source is reputable to avoid downloading corrupted files․
Printed replacements‚ including those with hi-gloss‚ acid-free paper for longevity‚ are available for purchase online․ Having a physical copy is beneficial for quick reference during sewing sessions‚ especially if you prefer not to use a digital device at your workspace․
Always refer to the official Brother manual for accurate and up-to-date information․